TahoeMushroomCompany
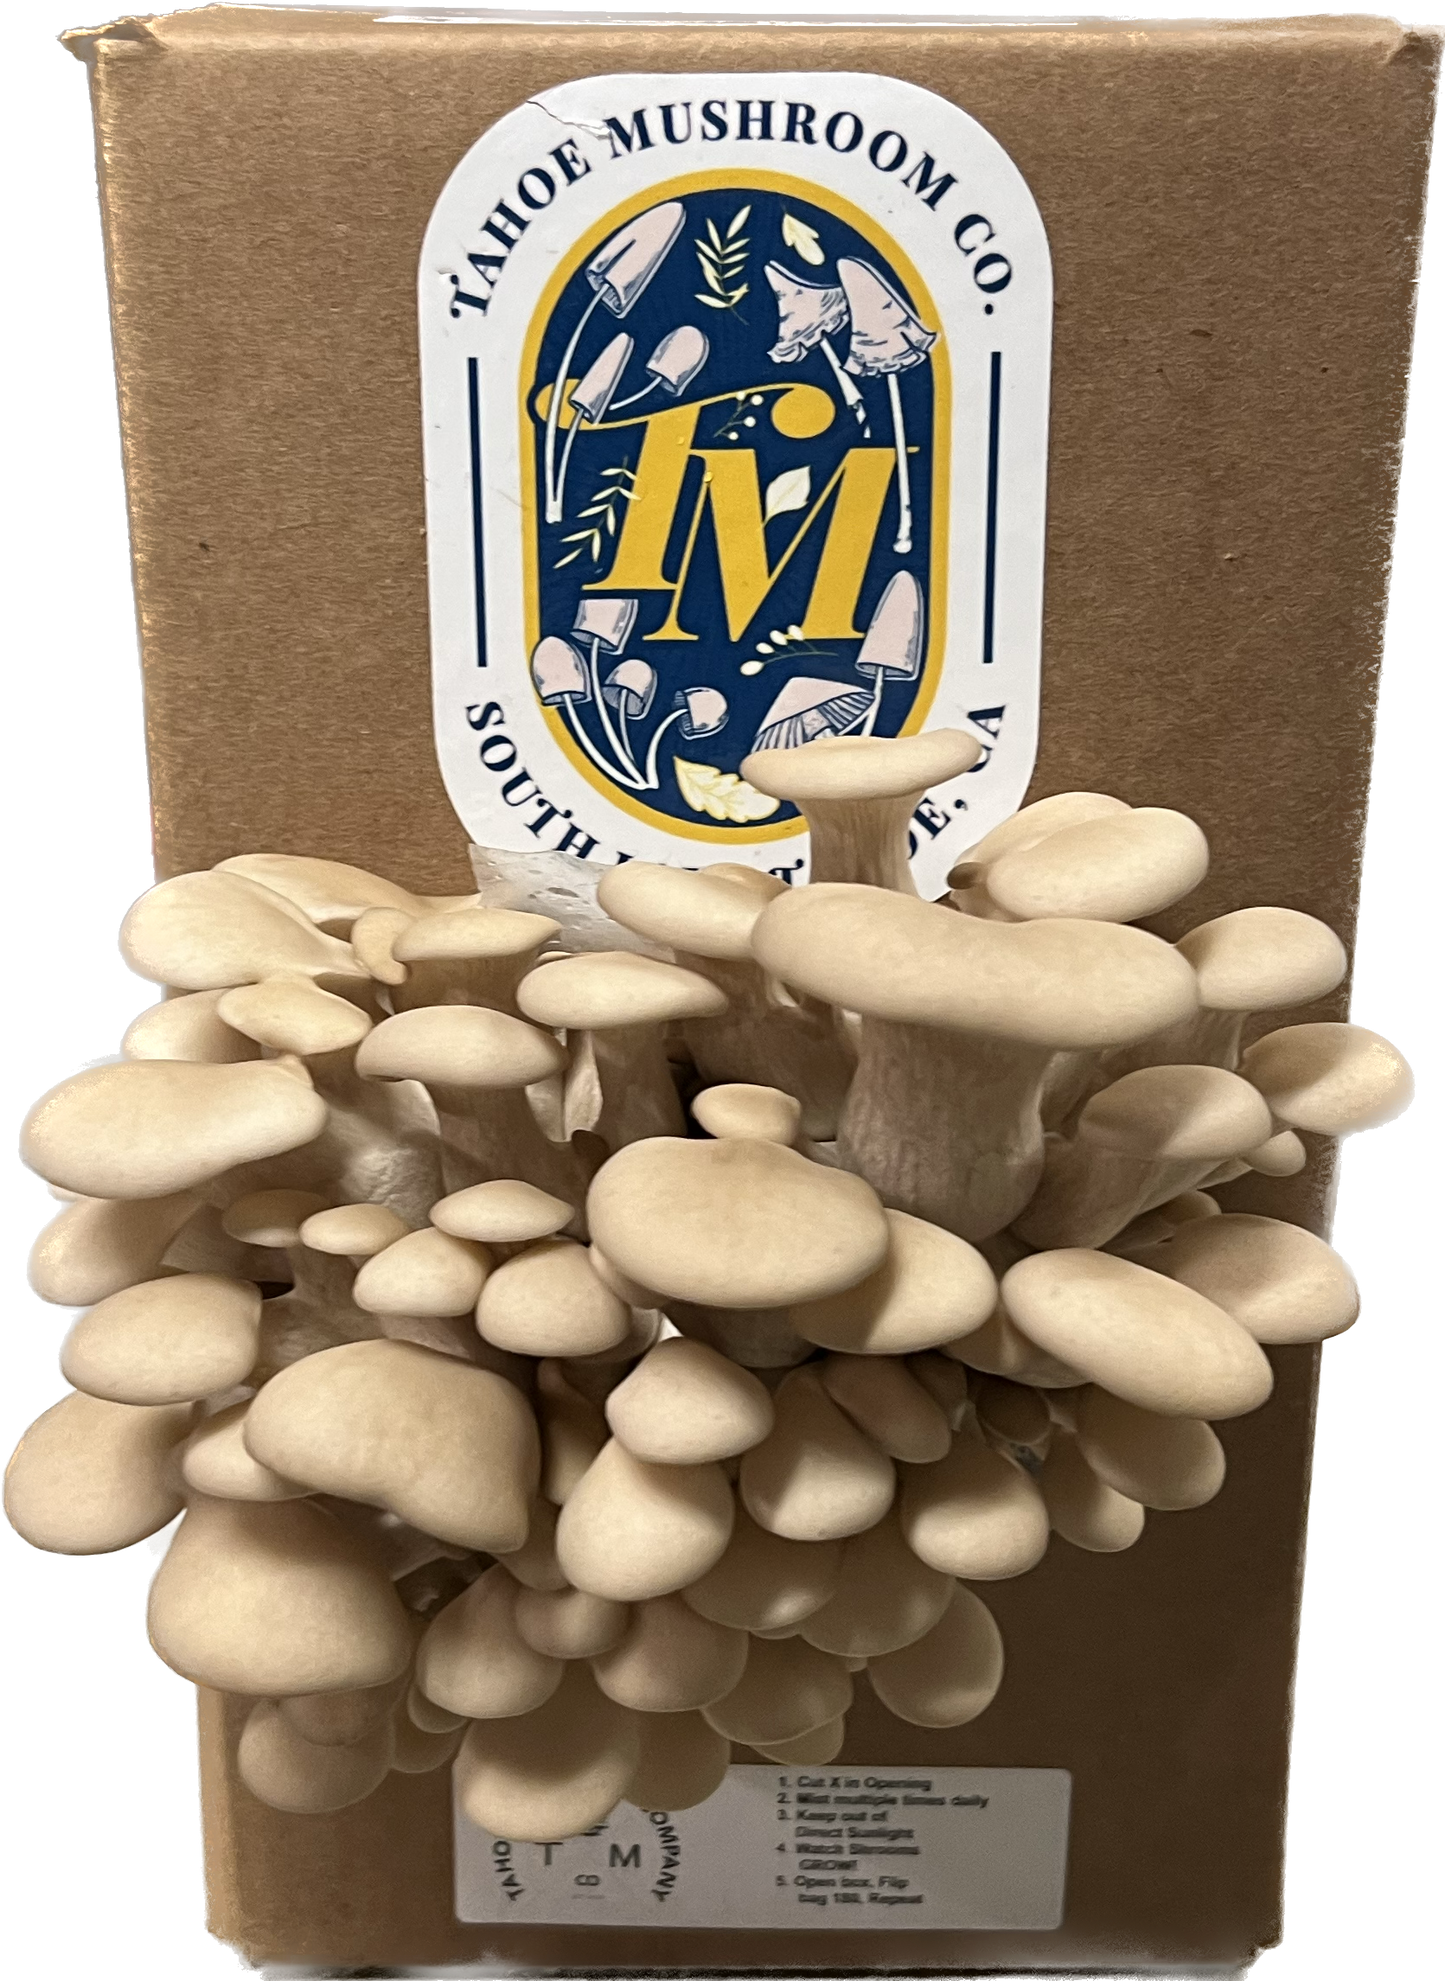
"Grow Your Own" Tahoe Pearl Oyster
"Grow Your Own" Tahoe Pearl Oyster
Couldn't load pickup availability
"Grow Your Own" kits are an easy way to grow your favorite gourmet mushrooms!
Fast growing and aggressive, Tahoe Pearl Oysters are a treat to watch fruit! They have a slightly crisp texture and will last up to a week in the refrigerator once harvested. Cultivated and inoculated right in the Lake Tahoe Basin, Tahoe Pearl Oysters mimic the pearly colors of the rocks and boulders around lake they they were raised from.
Oyster mushrooms contain higher amounts of antioxidants than other types of cultivated mushrooms, are beneficial for your heart, and can even help lower your cholesterol.
Each "Grow Your Own" kit will produce two full flushes of mushrooms for you to harvest and enjoy. Afterwards, you can crumble the remaining substrate and mix into your compost, or garden soil!
Instructions:
Step 1: Choose a Growing Location
- Find a location with indirect light (natural or artificial). Mushrooms do not require direct sunlight but grow best in moderate light conditions.
- Keep the kit in a room temperature environment (ideally 60-75°F). Avoid placing it near heating vents, drafts, or in overly dry rooms.
- Humidity is essential for mushroom growth, so choose a space where moisture can be easily maintained.
Step 2: Prepare the Kit for Fruiting
-
Cut an “X” in the Bag
- Use a sharp knife or scissors to cut a 4-6 inch “X” or several small slits in the bag covering the block. This will create openings where the mushrooms will fruit.
- If your kit doesn’t come in a plastic bag, follow any alternate instructions provided (such as soaking or placing in a fruiting chamber).
Step 3: Maintain Humidity
- Mist the openings of the bag 2-3 times daily using the spray bottle. Mushrooms need high humidity (around 85%) to develop properly.
- If your environment is dry, use the included humidity tent by placing it loosely over the block. Ensure there is enough airflow to prevent excess moisture buildup.
- Avoid letting water pool inside the bag or on the surface of the block.
Step 4: Wait and Watch for Pins
- Within 5-10 days, you should notice small mushroom “pins” forming at the slits or cut openings. These are tiny baby mushrooms that will rapidly grow over the next few days.
- Keep misting and maintain proper humidity as the mushrooms develop.
- Ensure there is no direct airflow from fans or heaters, as this can dry out the mushrooms.
Step 5: Harvest Your Mushrooms
- Once the mushrooms reach the desired size (typically 5-7 days after pinning), harvest them by gently twisting or cutting them at the base.
- Avoid pulling, as this can damage the mycelium block and reduce future yields.
"Grow Your Own" kits are made to order. Most ship within a week, but please expect a 1-4 week lead time.
Materials
Materials
Shipping & Returns
Shipping & Returns
Dimensions
Dimensions
Care Instructions
Care Instructions

Image with text
Pair text with an image to focus on your chosen product, collection, or blog post. Add details on availability, style, or even provide a review.
-
Free Shipping
Pair text with an image to focus on your chosen product, collection, or blog post. Add details on availability, style, or even provide a review.
-
Hassle-Free Exchanges
Pair text with an image to focus on your chosen product, collection, or blog post. Add details on availability, style, or even provide a review.

